Using Cloud Based Attachments in VMS Communications
Using Cloud Based Attachments in VMS Communications
1. Navigate to Clubhouse - Communications
2. Create a communication Template or Draft in the normal manner

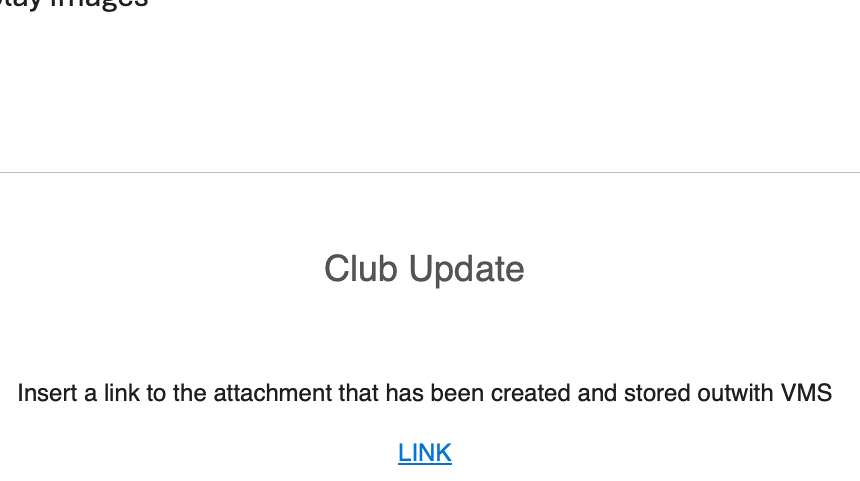
3. When createing your communication draft in the body of the text instead of attaching a physical attachment which would need to be stored in VMS you can insert an editable link to a an item: document, image, file etc which is stored off VMS.

4. Once the template or draft is to an acceptable standard navigate to the cloud site used to host your attachments - Example 1 - Google Pages

5. Select SHARE
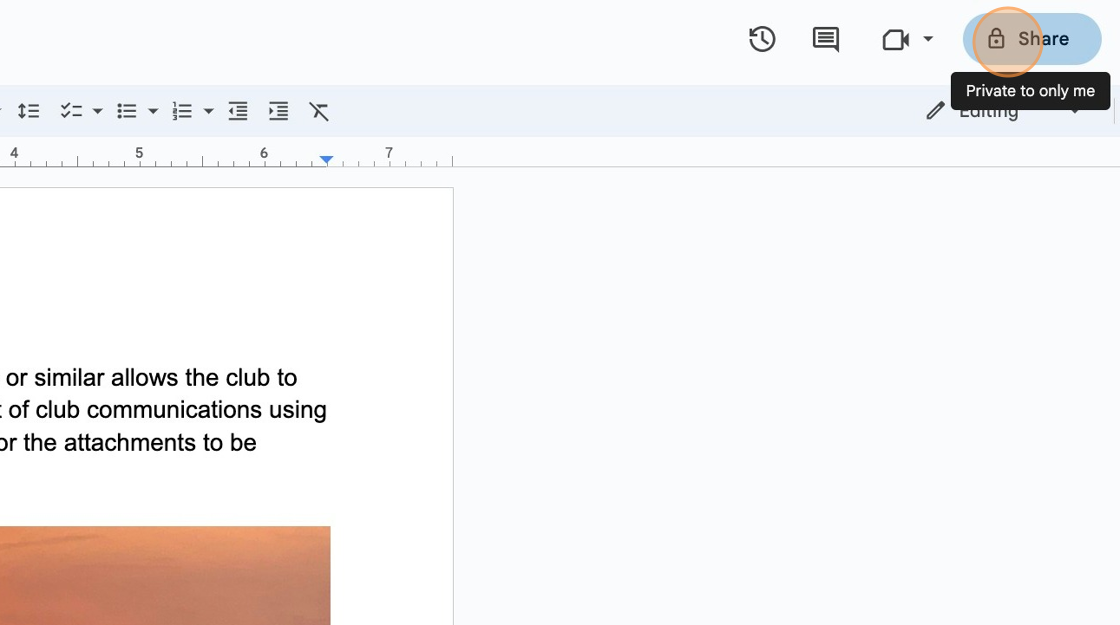
6. "Copy link"

7. Back in VMS Comms, select the LINK Icon

8. Insert the target link and Save

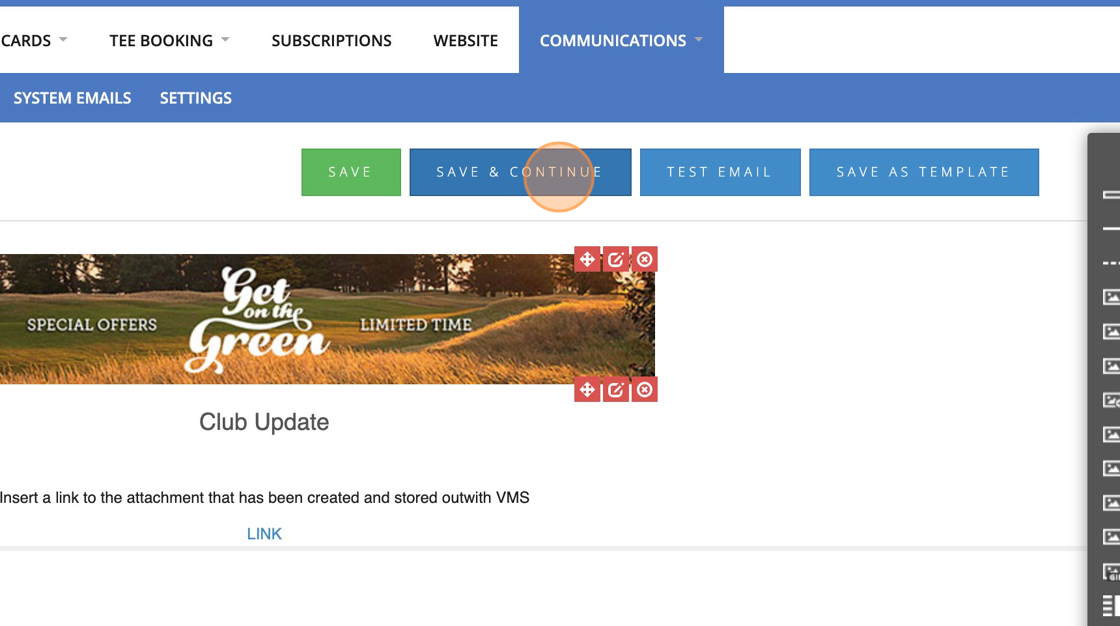
9. Click "SAVE & CONTINUE" and then complete the naming and recipient fields as normal
10. Click this dropdown.

11. Click this text field.

12. Type "COMMS ATTACHMENT TEST"
13. Click this dropdown.

14. Click this dropdown.

15. Click the "Member number or surname, firstname" field.

16. Type "brown"
17. Click "Brown, Alan"

18. Click "ADD RECIPIENTS"

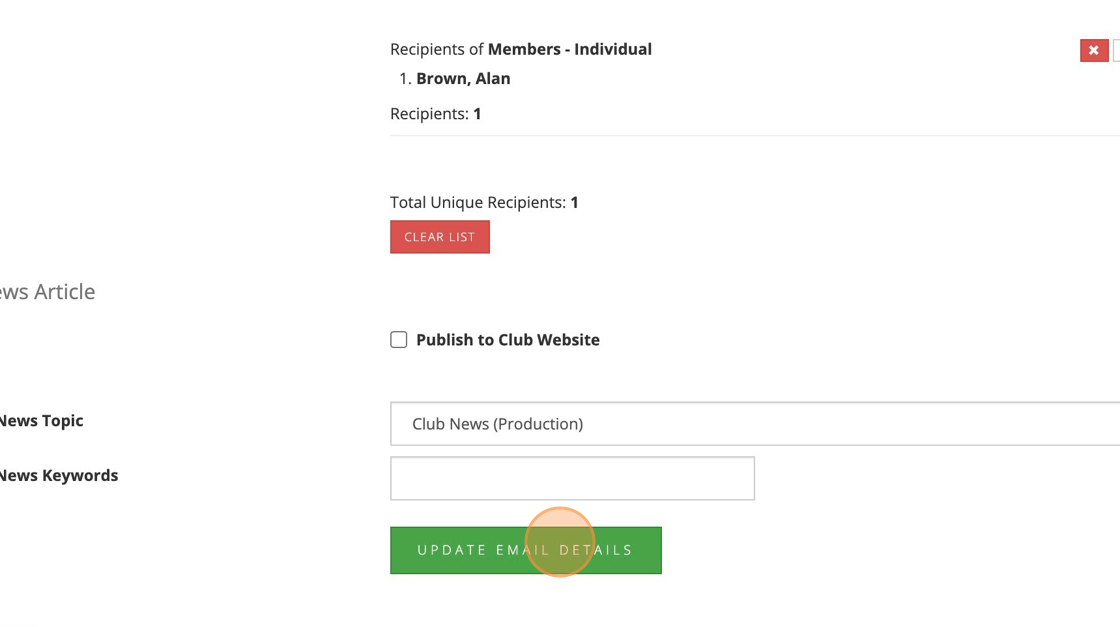
19. Click this dropdown.

20. Click "UPDATE EMAIL DETAILS"
21. Click "OK"
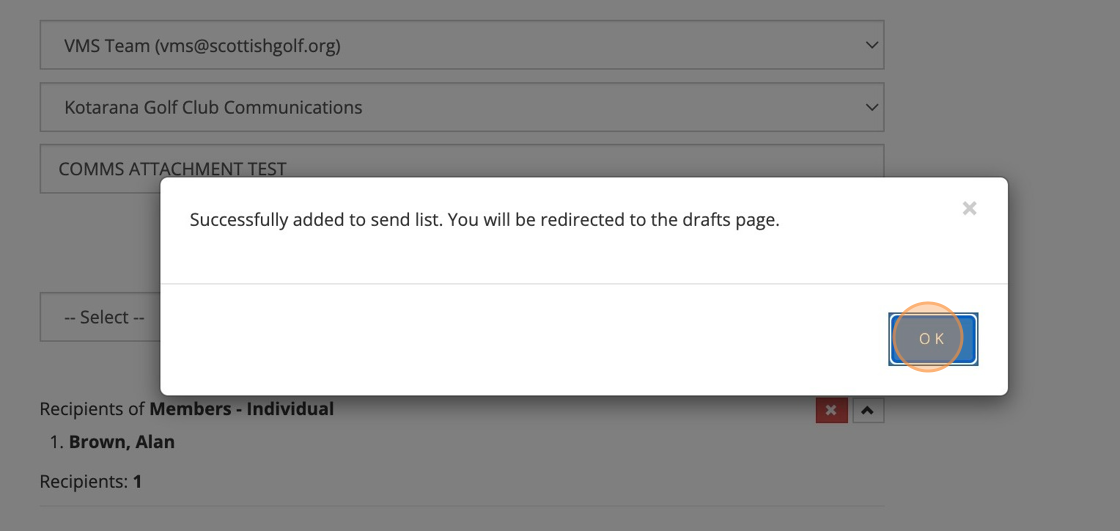
22. The communication can now be sent

23. The email now has the attachment link embedded in the body of the communication
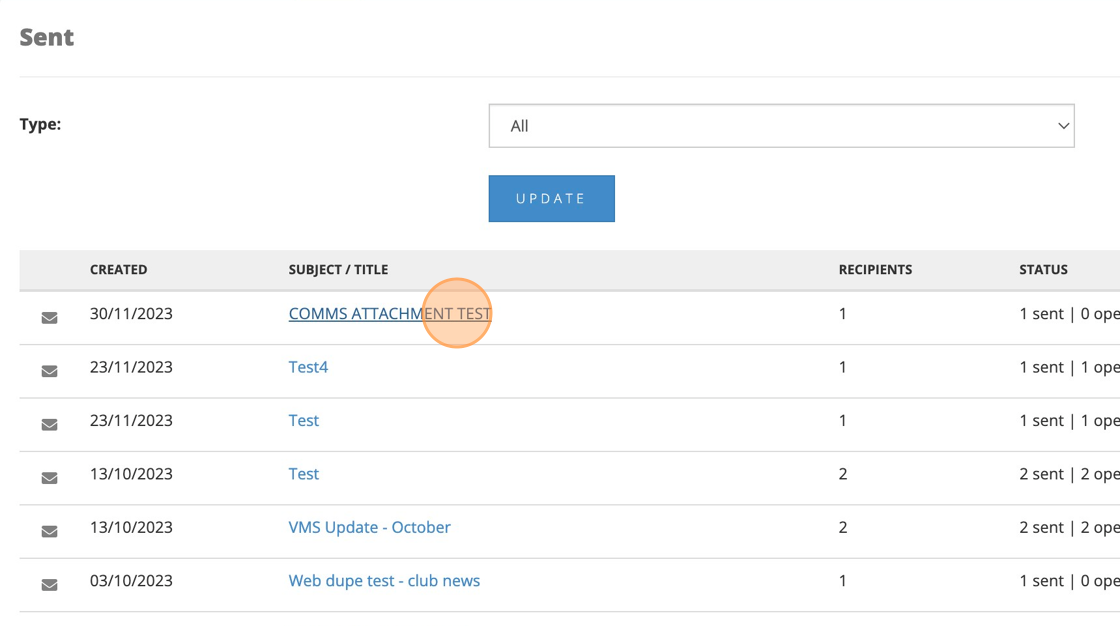
24. If any Administrator needs to see what attachments have been sent in club communications all they need to do is navigate to the SENT Items in the Communications tab and select the item
25. Click "COMMS ATTACHMENT TEST"
26. The link will be navigate to the stored item and if the communication needs updated then simply edit the link.

Related Articles
Creating & Sending an Email Communication
1 Select the communications tab in your VMS profile and select send Email 2 Chose a template 3 Name the Draft and then select Next 4 You are then able to build your email. By clicking and dragging on the items in the toolbar you can build the content ...Sending Competition Results Directly From The Results Page
1. Once a competition has been completed, you can now send the results to competitors from the dashboard results section by selecting Email (PDF) 2. You will be taken to the Communications tab in your VMS platform where you will see the below screen. ...How to Create a New Mailing List and Add Recipients
1. Within your Communications tab click on "MAILING LISTS" 2. Click "CREATE NEW MAILING LIST" 3. Click this text field and type the name of your mailing list. 4. Click this dropdown and select the mailing list you have just created. 5. If you are ...Creating a Custom Email Template
1. Click "COMMUNICATIONS" and then "Create Email" 2. Click "SELECT" on the email format you want to use. 3. Start building your email by clicking on the options within the grey toolbar and dragging them to the centre of the screen where the Envelope ...Webinar: Website & Communications. Feb 2023
Here is a webinar on how to manage your Website & Communications: