Create Points OOM in Clubhouse
1. You should now see a "OOM/Points" option within your Events module.
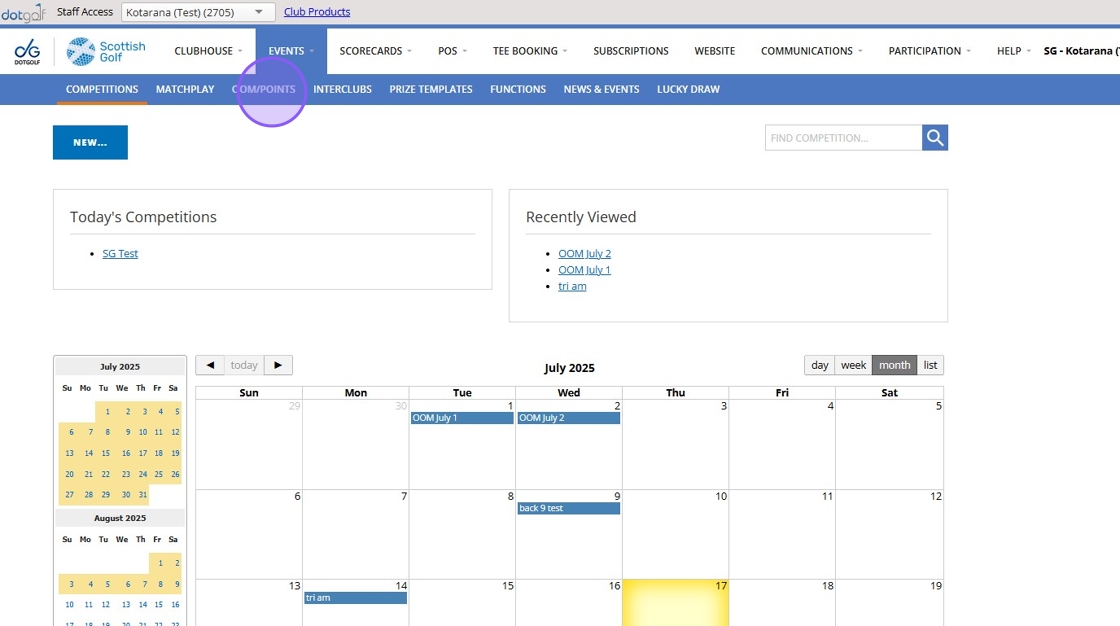
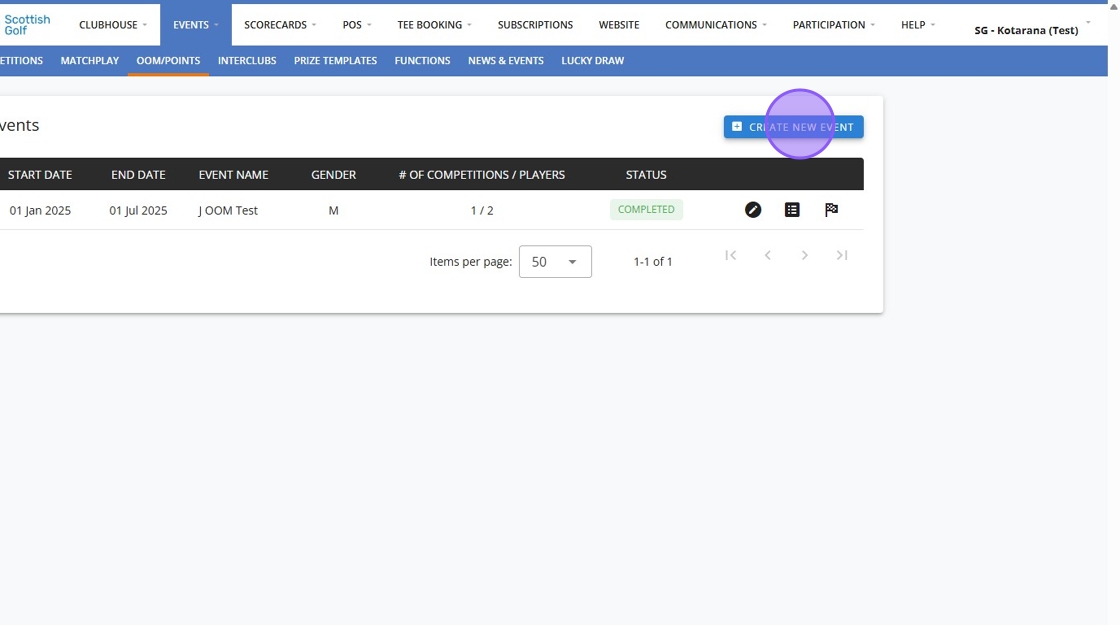
2. Here you will be able to see any previous OOM created and have the option to create a new one.
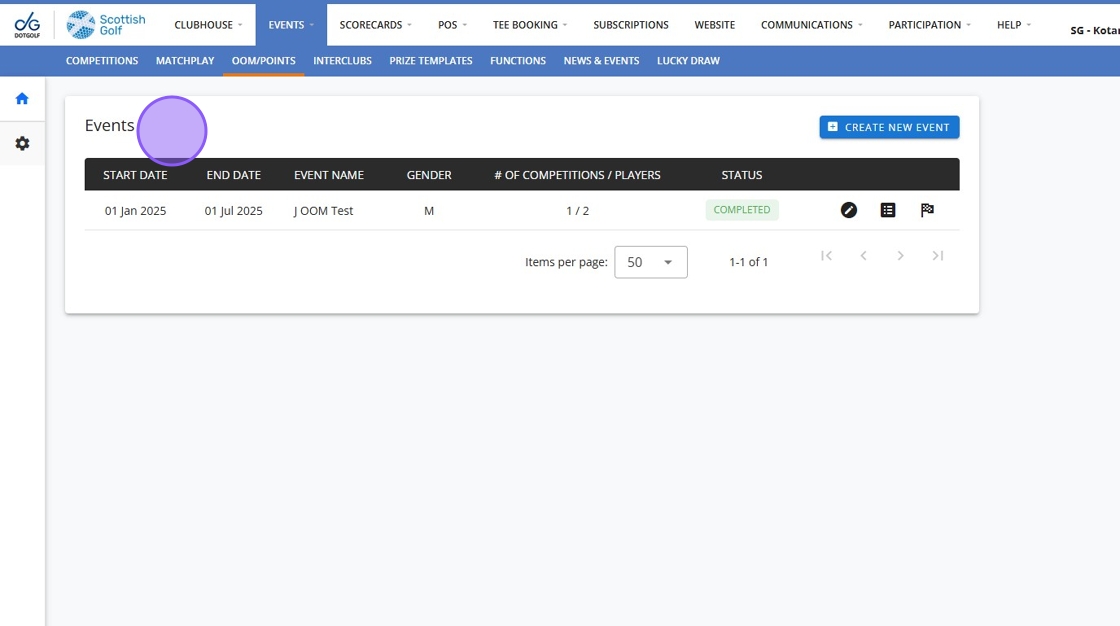
3. Click on the settings cog to set up your Points table.

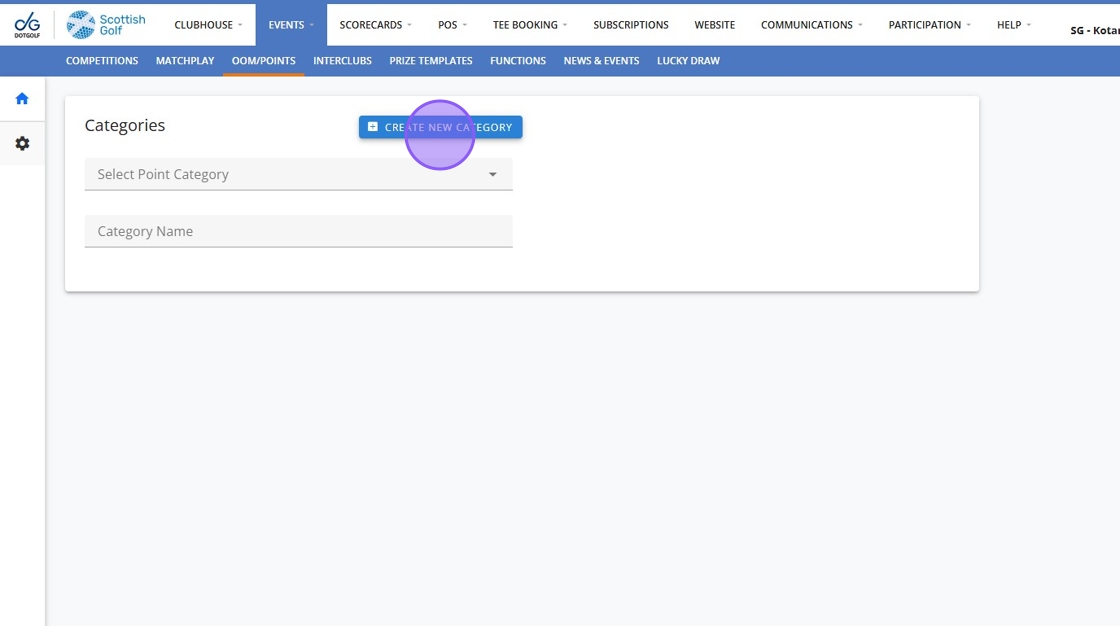
4. Click "Create New Category" if you wish to set up a new points table for your OOM
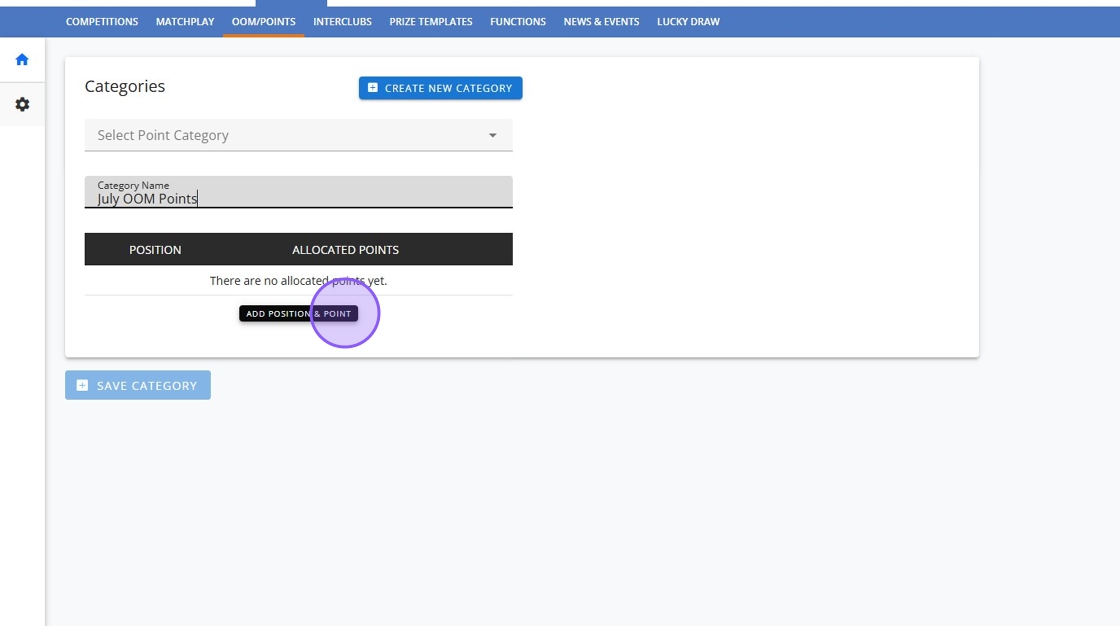
5. Click the "Category Name" field. and type in the name of your points table so you can recognise it for future use.
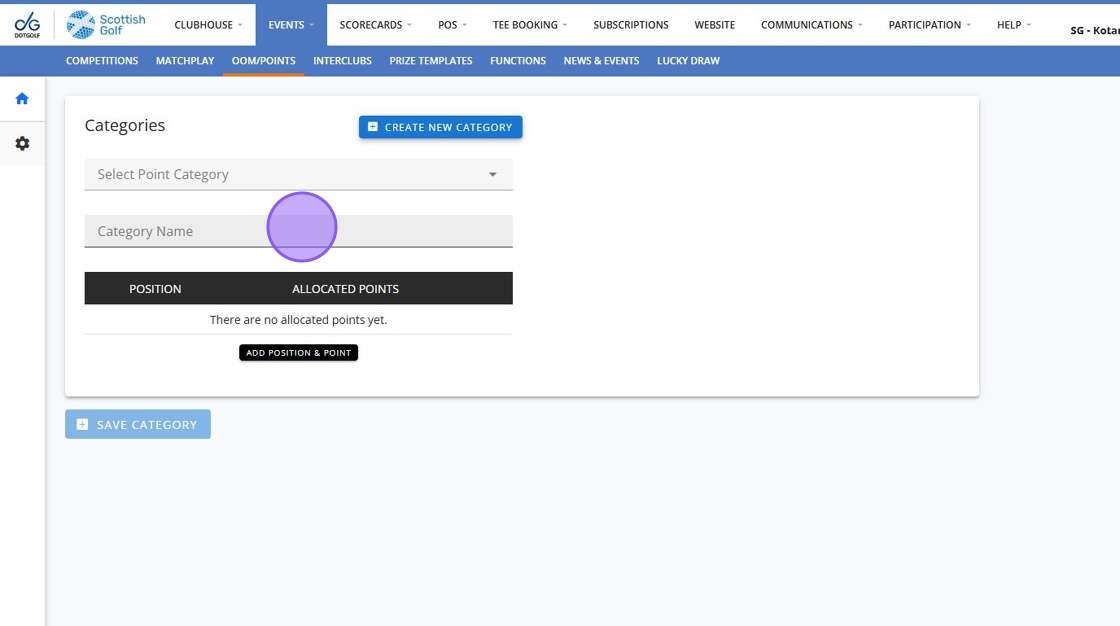
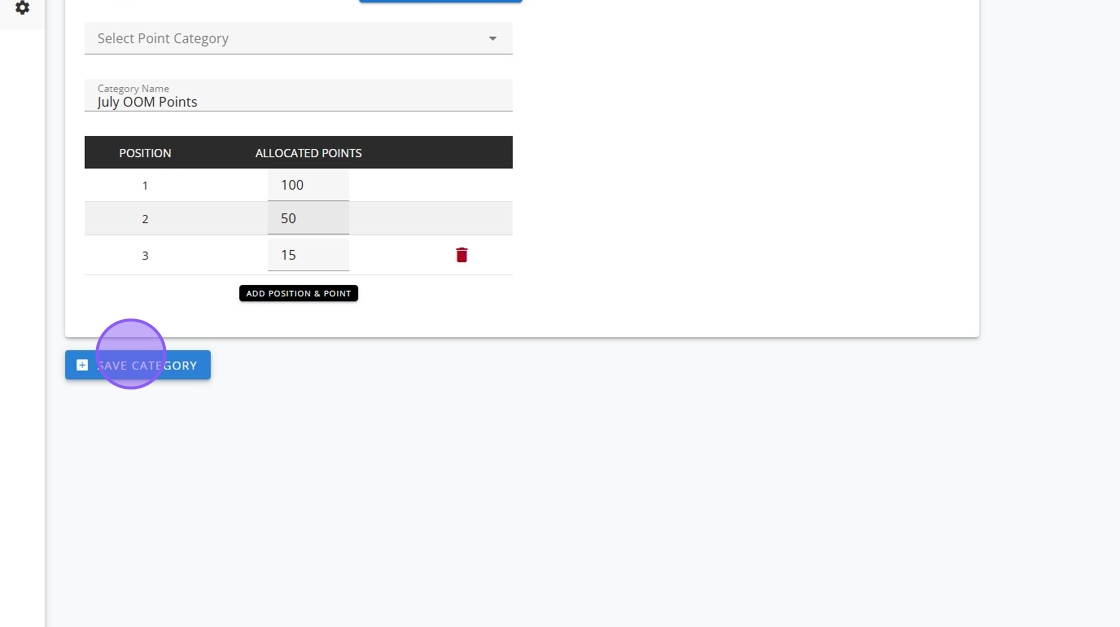
6. Click "Add Position & Point" to begin building your points table.
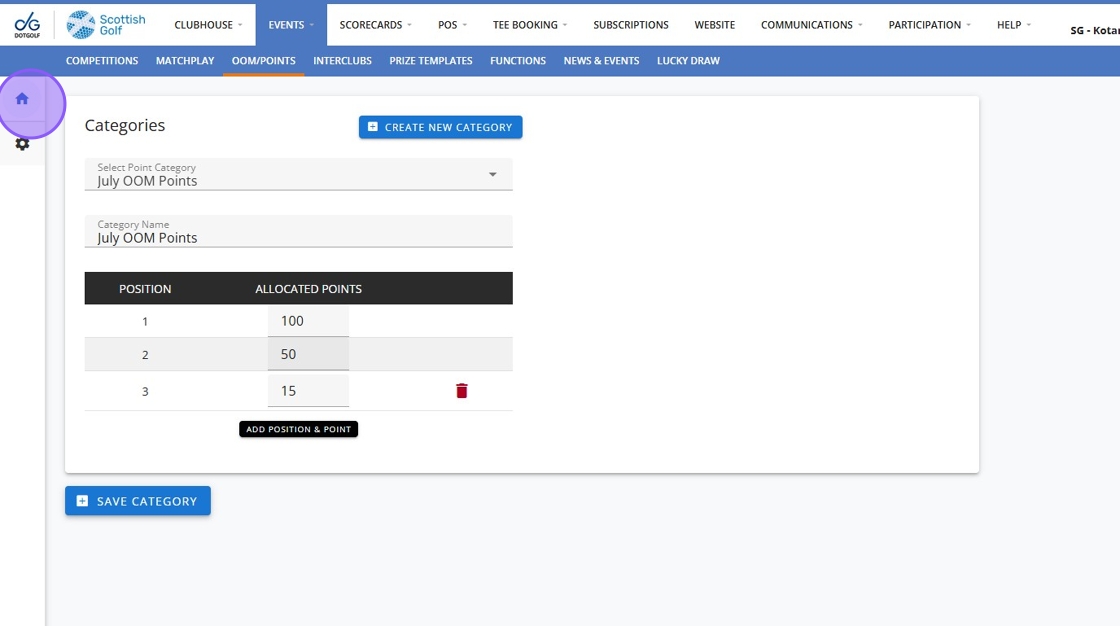
7. Click "Save Category" once you have built your table.
8. Click this Home button to go back to your events.
9. Click "Create New Event"
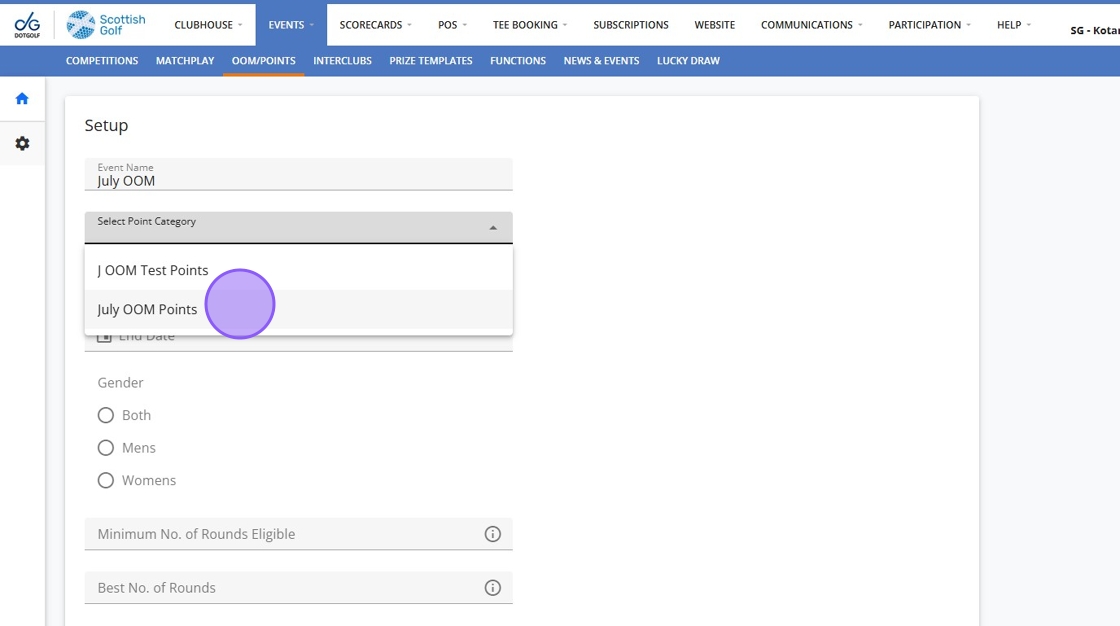
10. Click the "Event Name" field and begin setting up your OOM.

11. Click "July OOM Points"
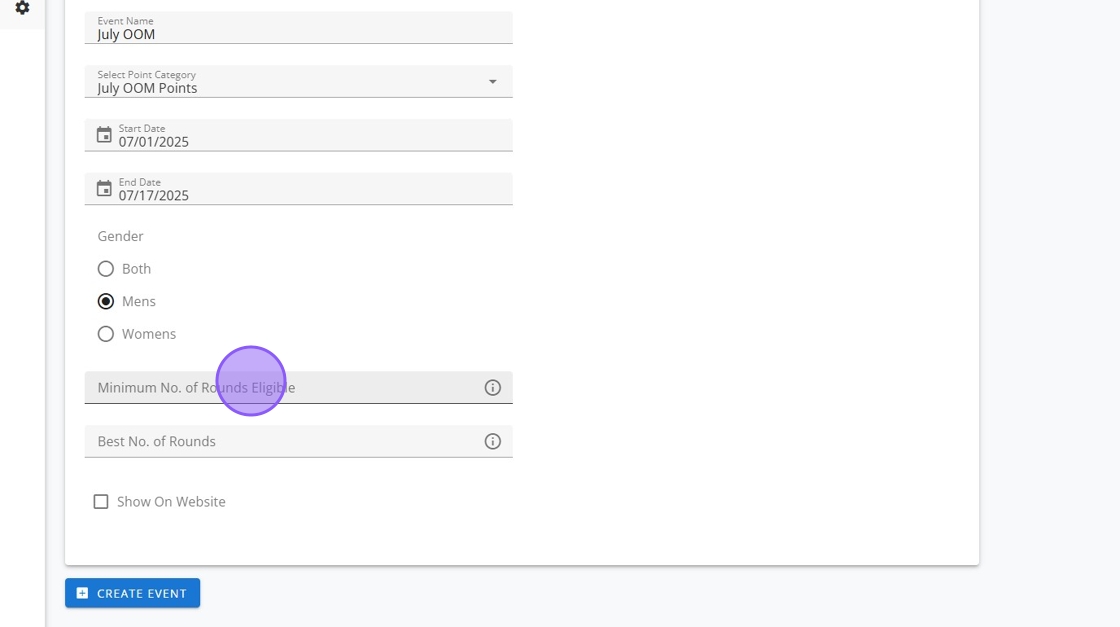
12. Complete the fields on this page to set up your OOM. Please take note that only competitions within your OOM date range will appear.
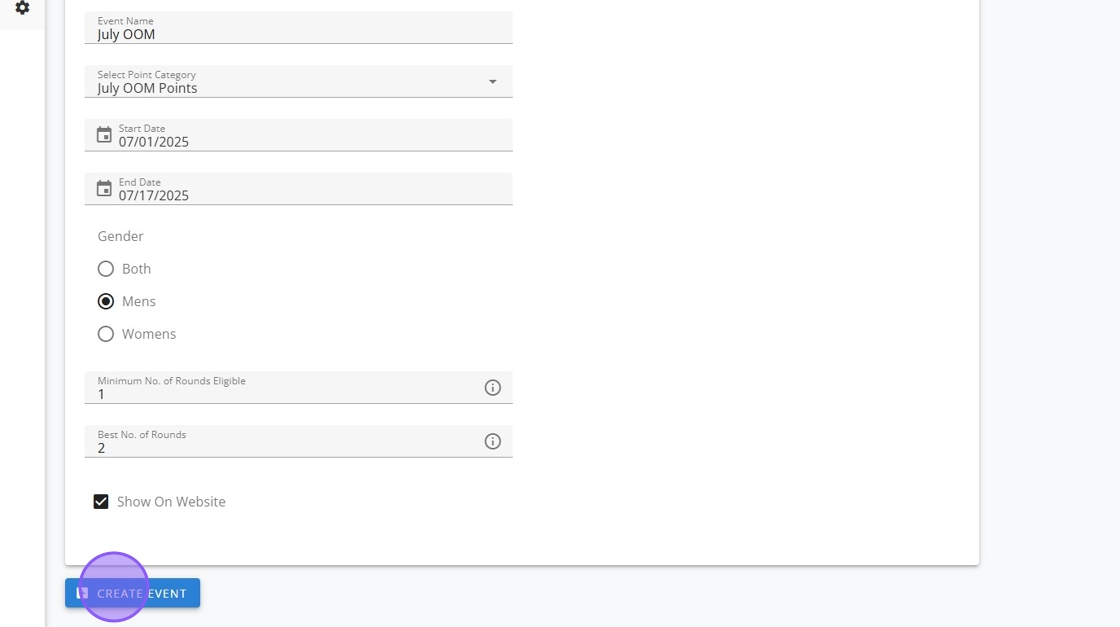
13. Click "Create Event" to finalise.
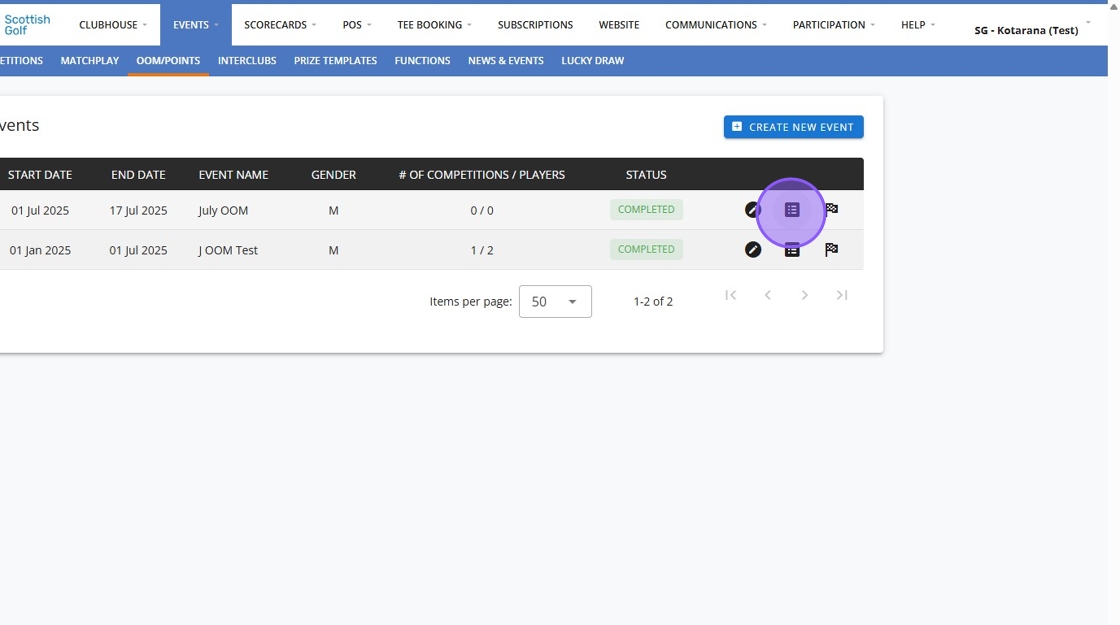
14. Now you can begin adding in your competitions once they have been played. Go to your OOM and click on the competitions icon, highlighted below.
15. You will then be able to set the date range (its auto set to your OOM date range) and click search

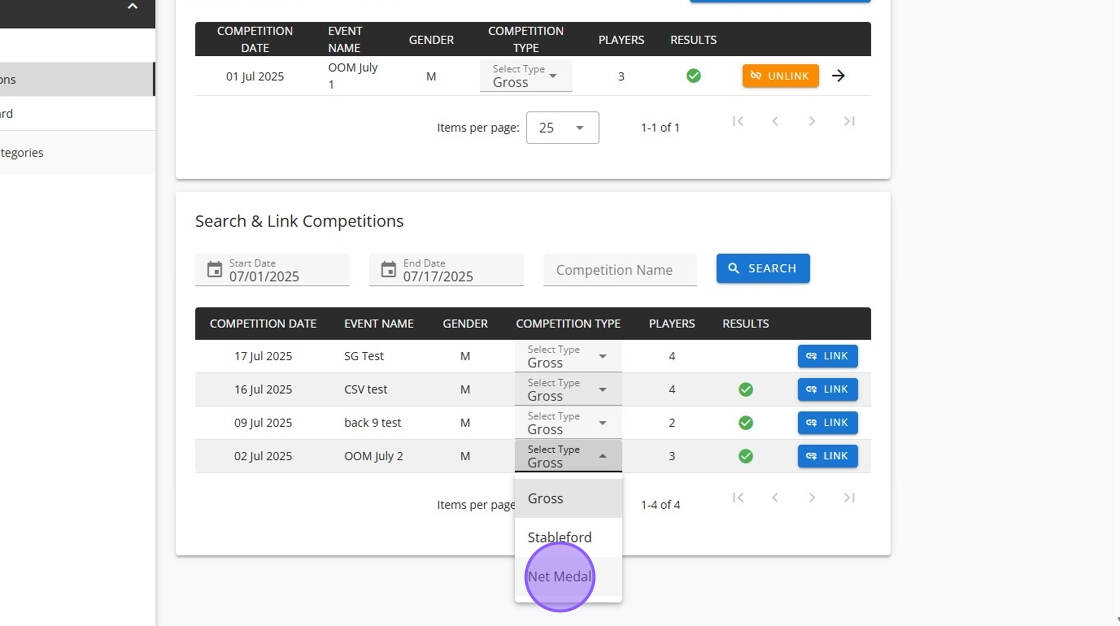
16. You'll then see a list of eligible competitions to select your competitions by clicking 'Link'

17. You can select what type of result you want to add to your OOM and can have different formats within the same OOM
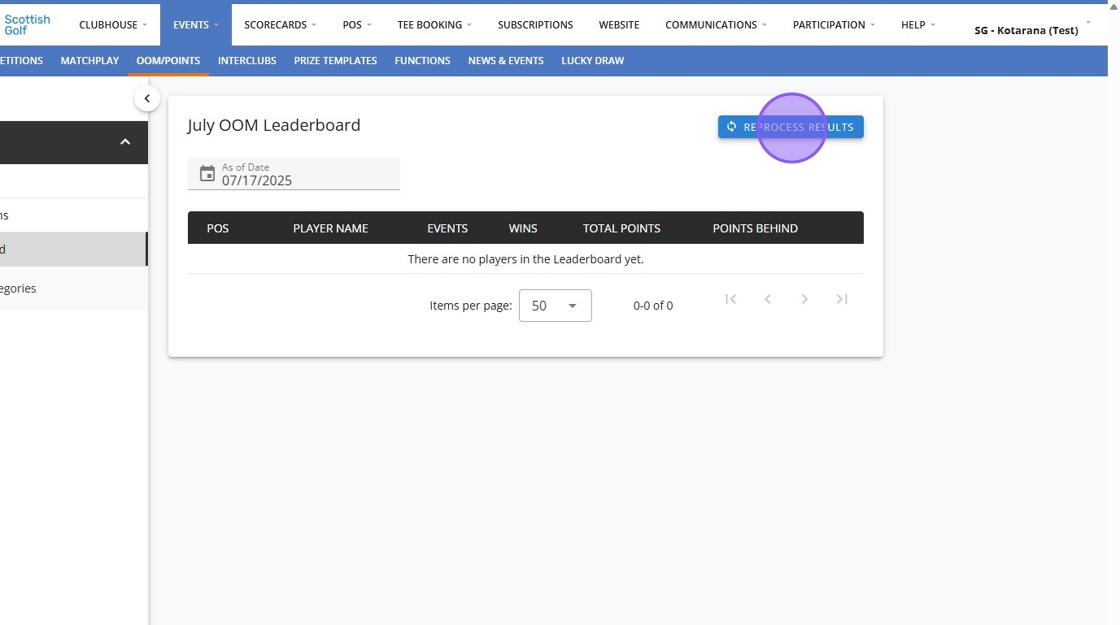
18. When you have results available you will be able to go to the leaderboard tab and view this. Please note you may need to reprocess results and there is a slight delay whilst the system retrieves the results.
19. You will then be able to view the leaderboard and click into the players to see the points allocated. This view and functionality is also available to your golfers.

Related Articles
How to Create a 'Best of' Series OOM
1. Navigate to https://live.clubhouse.scottishgolf.org/Events/Calendar.aspx 2. Click "EVENTS" 3. Create a new competition profile 4. Type in the title of your OOM event 5. Select the applicable format/s of golf. 6. Click to add your various rounds ...Creating a Categorised List of All Club Members
Creating a Categorised List of All Club Members 1. Navigate to https://live.clubhouse.scottishgolf.org/TabMembers.aspx 2. Click "Club Members Listing" 3. Select the criteria for your search by using the dropdown menus and then Click "Pick ...How to add Contacts to your Clubhouse
Below is a guide on how to do this as well as a video tutorial showcasing the exact steps you need to take: 1. Navigate to https://live.clubhouse.scottishgolf.org 2. Click "CLUBHOUSE" 3. Click "SETTINGS" 4. Then click "Contacts". 5. Here you will see ...How to Create a Fourball Competition
1. Navigate to https://live.clubhouse.scottishgolf.org/Events/Calendar.aspx 2. Click "EVENTS" 3. Click this button to create a new competition. 4. Give your competition a title 5. Then select the format of Golf. 6. You'll see a number of 4BB formats ...How to create a Foursomes Competition
1. Navigate to https://live.clubhouse.scottishgolf.org/Events/Calendar.aspx 2. Click "EVENTS" 3. Click this button to create a new competition. 4. Give your competition a name. 5. Then select the format of golf. 6. Select the format/s of golf you ...